How to Install a Pond Liner
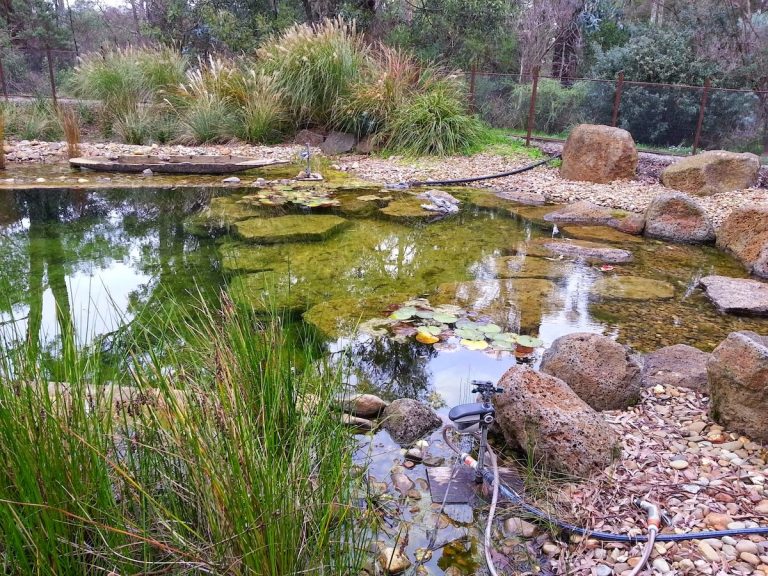
Whether you have a pond for agricultural purposes or you’re building one in your yard for a hobby, you might need to install a liner to protect it from damage.
A liner is made of impermeable material, forming a barrier between the ground and the water inside your pond. It’s a crucial part of your pond, and fortunately, it’s relatively easy to install. So much so that you can do it yourself!
Here’s everything you need to know.
Firstly, Do You Need Pond Liner?
No. You don’t always to line your pond. If you have a preformed pond, for instance, it will have a plastic or carbon-fibre basin that you can fill with water. Hobbyists and new pond owners might choose this variety because they’re so simple and make great swimming ponds, but you don’t get the same flexibility as you would using pond liner.
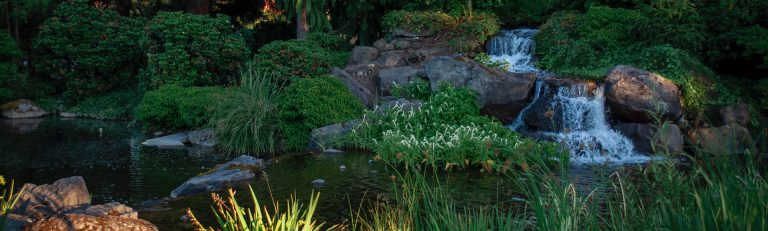
And there are other drawbacks, too. The pre-made basins have a fixed shape and size, and a maximum depth that you cannot change. This might rule out certain pumps, filters, and water features like waterfalls.
You can get liners in a range of materials, including HDPE, PVC pond liner, and EDPM, including rubber and butyl. All of these are options, but you need to figure out which variety will best suit your pond. We only stock high-quality EPDM liner because this rubber liner lasts decades not a couple of seasons and maintains its structural integrity in all conditions, e.g. frost, extreme heat etc.
How Much Pond Liner Do You Need?
Now, before you begin installation, it’s important to figure out how much liner you require. Otherwise, you’ll end up buying too much!
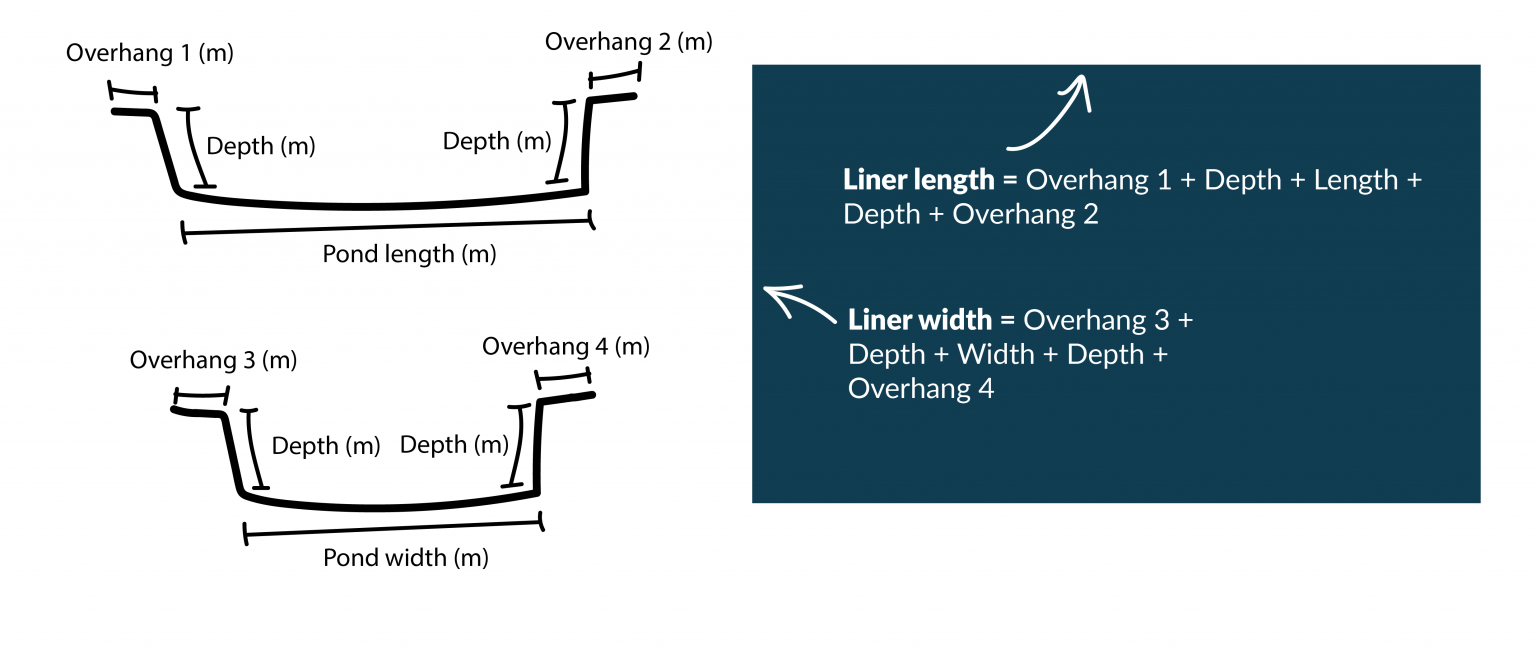
To calculate the length and width of liner for a pond, follow the diagram below. It shows how to take overhang and the vertical runs into consideration.
Example:
If you had a pond 1m deep, 4.5m long and 3.8m wide.
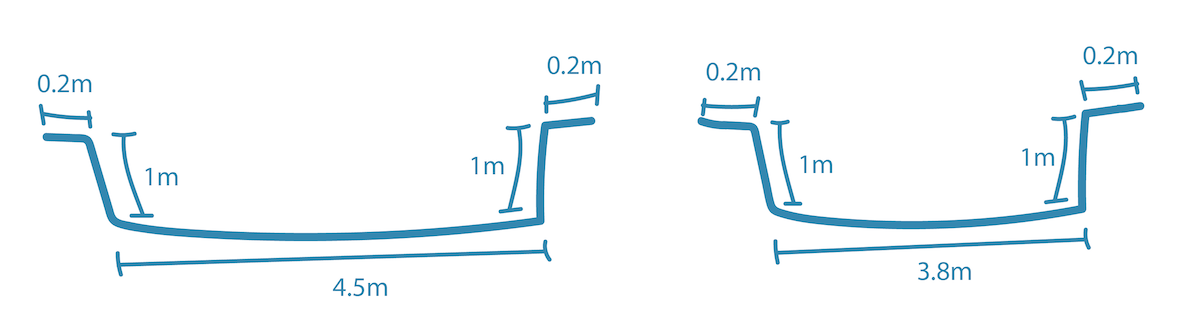
Then the calculations would be:
Length = Overhang + depth + length + depth + overhang
= 0.2 + 1 + 4.5 + 1 + 0.2 = 6.9m
Width = Overhang + depth + width + depth + overhang
= 0.2 + 1 + 3.8 + 1 + 0.2 = 6.2m
So, Liner Size = 6.9m x 6.2m
If you need help sizing, you can contact us for assistance.
You should also consider purchasing underlay at this point, which will ensure that sharp objects like rocks and sticks won’t puncture the liner.
How to Install Pond Liner: Step by Step
Once you have purchased your liner, it’s time to install it. This is where the serious stuff begins, but don’t worry–it’s not too difficult. You can definitely DIY it, and here’s how.
Step 1: Prepare the Pond
The first step is to prepare your pond. When you’ve dug out the space, you can prepare the hole by removing sharp objects and tree roots, or anything that could puncture the liner in future. Make sure you check around the edges, too, identifying any fast-growing plants that might send out roots that could damage your pond. You might have to remove or relocate these.
Next, rake the surface to remove any lingering stones. The human eye might miss the smaller ones, but you need to make sure the surface is prepped so there’s nothing left to damage the liner.
If there are any small holes, fill these with sand to prevent the liner from sagging.
Step 2: Install Protective Underlay
Before adding the liner, consider adding protective underlay. This geotextile fabric is an additional barrier, which means your liner is less likely to be punctures or scratched. It can also prevent it from shifting during ground movement, and it even adds extra insulation! Win-win!
Some liners are more durable, but it’s often still worth it to add underlay. You can be a little messier with this part, since the underlay doesn’t actually hold water.
If you have spare underlay, use it to cover steep angles or stepped edges, securing things in place with EPDM liner adhesive tape.
Step 3: Install the Liner
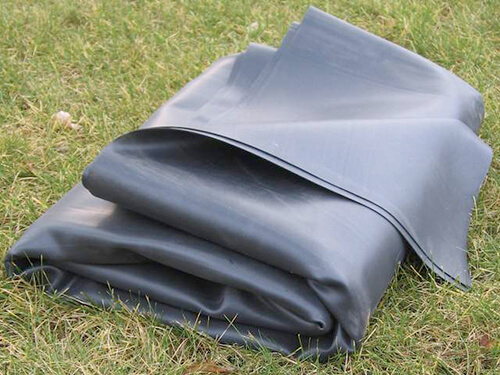
Now for the most important part: installing the liner. You should wait for a dry, sunny day. Pond liner is black, so it absorbs heat, and when it does, it becomes more flexible and malleable. So, on a warm day, you’ll have an easier job installing the liner.
Start by unpacking the liner and laying it out on a flat surface next to the hole. You may need two or more people to lift the liner, depending on how large it is. Lay it gently into the hole.
Pro tip: Lift it, don’t drag it, because this minimises the risk of any punctures.
When it’s in, there should be a decent overlap around the edges.
Next, you’ll need to roll your sleeves up and climb down into the hole. Take your shoes off for this part! Take the time to form the liner over the contours of the hole, moving around the are systematically to make sure every inch is covered. Fold the creases as neatly as possible.
After that, you can climb back out of the hole and fill it with a few centimetres of water from the hose. This weighs it down and helps to ensure that it’s pushed into all the nooks and crannies of your pond.
Don’t add any more water before you’ve ensured that there are no creases left. Pull it in every direction until the creases disappear, then weigh it down at ground level with weights or rocks to keep it taught. Then, you can continue to add water until the level is about 5cm below ground level.
Step 4: Trim the Excess
Remember, there should be a decent amount of excess around the edges. If there’s more than you need, you’ll need to grab a pair of sharp scissors or a box cutter to cut this away.
You can then cover this overlap with turf, edging, or landscaping rocks to make your area look nice and inviting. Whatever you choose, this will ensure that you can no longer see the liner, but that it still looks good.
Need Pond Liner?
Looking for pond liner in Australia? LoveMyPond is your one-stop shop for high-quality rubber liner and other pond materials.